Thursday, September 11, 2008

Clipping Mask - Templates

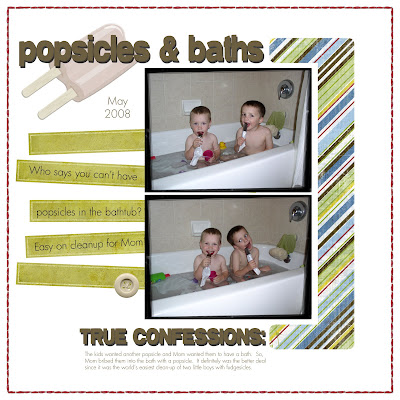
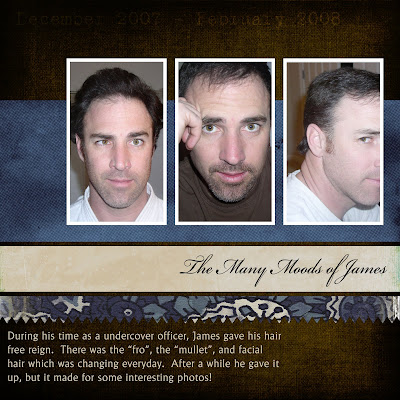
Today I was reading an article on clipping masks and learned that you can use them with those layered templates that you can now buy. I think I already knew this from watching a tutorial but I had completely forgot. So, I got on photoshop and tried it out. Boy, that was easy! Usually when I use these templates I select and delete and use all of these time-wasting steps. I tried it both Photoshop and Elements. Yeah! It works in both programs.


1. Open your layered psd file.

2. Drag your papers and photos into the psd file placing them directly above the layer you would like it to apply it to.

3. With your paper/photo layer seleted, Photoshop: Right-click and select "create clipping mask". Elements: Select Layer>Group With Previous.

4. Now you can move the paper/photo layer around until you get in just the right place.

Once I had my pictures selected. This layout probably took me about 15 minutes to complete!

Tuesday, September 9, 2008

Clipping Mask - Photos

In my last post, I suggested using clipping masks to extend your embellishments even further by pairing them with other papers, etc. In this technique, I used the clipping mask with a photo. It was pretty much the same process. It was a fun way to alter a photo!
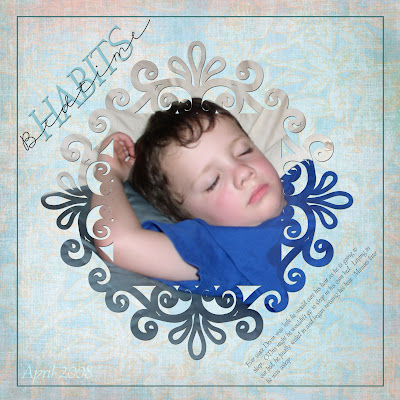
Photoshop Version:
1. Assuming you already have your photo ready, create a new layer for your desired element or brush.

2. Copy your frame to this layer or stamp your brush on it.

3. If you are using a frame or a brush that has an area in the middle that is empty, you will want to fill this. Using your marquee tool, select the area overlapping a little. Then use your bucket and fill it.

4. Move your photo above the brush/frame layer if it is not already in this position.

5. Right-click on the layer name and select Create Clipping Mask.

6. Now you can reposition your photo so that the area you want visible is showing by using your move tool with the photo layer selected. Once this is done you can merge the layers if you like.

If you have Elements, here is one way you can achieve the same results after following steps 1-3 above.

4. Position your photo under the brush/frame layer, so that the area you want to keep is lined up this layer. You can take down the opacity of the brush/frame layer so that you can see what you are doing.

5. Ctrl-Click on the brush/frame layer in the layers palette. You should see dancing ants.

6. Choose Select>Inverse from the menu above.

7. On the layers palette, select your photo layer.

8. Then select delete. This will delete all of the photo outside of the brush/frame layer. It gives you the same look with a few more steps to follow.
Wednesday, September 3, 2008

Clipping Masks

In my efforts to get back into a regular scrapbooking mode, I have decided to post a few of my favorite techniques over the next few weeks. This first technique can help you stretch your collections of scrapbooking embellishments even further. This is called a clipping mask. In this layout I will be referring to the bracket to the right of the layout.


1) Pick out an embellishment that you like the shape or design of. It even can be text. But, maybe it isn't the right color.

2) Next, pick out a piece of paper that you think will go well with your layout.

3) Bring both into your layout. Make sure the paper layer is on top of the element layer.

4) CS3: Using the layers menu, select Create Clipping Mask. Elements: Using the layers menu, select Group with Previous.

5) Viola! You now have a new element that matches your layout perfectly!