Showing posts with label photos. Show all posts

Thursday, September 11, 2008

Clipping Mask - Templates

Today I was reading an article on clipping masks and learned that you can use them with those layered templates that you can now buy. I think I already knew this from watching a tutorial but I had completely forgot. So, I got on photoshop and tried it out. Boy, that was easy! Usually when I use these templates I select and delete and use all of these time-wasting steps. I tried it both Photoshop and Elements. Yeah! It works in both programs.


1. Open your layered psd file.

2. Drag your papers and photos into the psd file placing them directly above the layer you would like it to apply it to.

3. With your paper/photo layer seleted, Photoshop: Right-click and select "create clipping mask". Elements: Select Layer>Group With Previous.

4. Now you can move the paper/photo layer around until you get in just the right place.

Once I had my pictures selected. This layout probably took me about 15 minutes to complete!

Tuesday, September 9, 2008

Clipping Mask - Photos

In my last post, I suggested using clipping masks to extend your embellishments even further by pairing them with other papers, etc. In this technique, I used the clipping mask with a photo. It was pretty much the same process. It was a fun way to alter a photo!
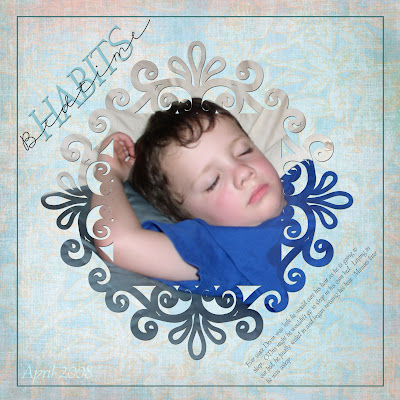
Photoshop Version:
1. Assuming you already have your photo ready, create a new layer for your desired element or brush.

2. Copy your frame to this layer or stamp your brush on it.

3. If you are using a frame or a brush that has an area in the middle that is empty, you will want to fill this. Using your marquee tool, select the area overlapping a little. Then use your bucket and fill it.

4. Move your photo above the brush/frame layer if it is not already in this position.

5. Right-click on the layer name and select Create Clipping Mask.

6. Now you can reposition your photo so that the area you want visible is showing by using your move tool with the photo layer selected. Once this is done you can merge the layers if you like.

If you have Elements, here is one way you can achieve the same results after following steps 1-3 above.

4. Position your photo under the brush/frame layer, so that the area you want to keep is lined up this layer. You can take down the opacity of the brush/frame layer so that you can see what you are doing.

5. Ctrl-Click on the brush/frame layer in the layers palette. You should see dancing ants.

6. Choose Select>Inverse from the menu above.

7. On the layers palette, select your photo layer.

8. Then select delete. This will delete all of the photo outside of the brush/frame layer. It gives you the same look with a few more steps to follow.
Tuesday, March 11, 2008

Designing With Photos

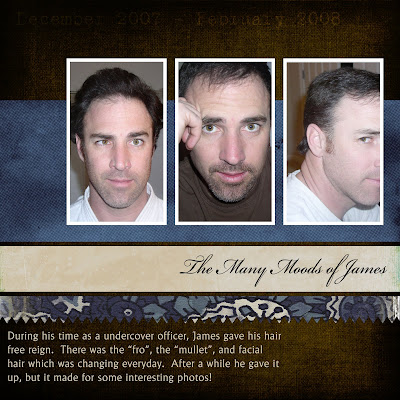
I love photography! Photos play such a dramatic impact on your digital layouts. It is becoming a second passion for me. I only wish that my income could support ALL of my expensive hobbies! But, having a simple digital camera is really all you need if you have great software. Sometimes a photo can be the star of the layout with only a few simple words added. Photos also can play a vital role in the colors you choose to use.

If you are looking for a dramatic effect, use a large photo to cover most of the page or all of it. Sometimes I want give my layout a classic, timeless look. Black and white photos fit the bill perfectly. Sepia also works well, adding warmth to the layout. Both of these enhancements can provide great contrast to the photos. Maybe the photo has something in it that you really want to focus on or make stand out. By turning the photo black and white and erasing this part of layer over the item you wish to focus on, the item will pop out and add a little color.

Another fun option, is to give your photos a vintage or hand tinted look. This is a great option for heritage scrapbooks too! Then there are those photos that you love, but turned out less than perfect. Well, don't thrown them out! Give them an artsy touch with a filter or increasing the opacity. They can be used as backgrounds for your layouts or journaling. There are endless options to improve and enhance your photos to add drama to your layout! Here are some examples. So, start taking more pictures!!


Photos as your Focal Point:


Photos as Backgrounds:


Fun Effects with Photos: